Garage Door Screen Installation: A Step-by-Step Guide
Learn how to install a garage door screen with a clear, safety-focused, DIY approach. This guide covers choosing the right kit, measuring for a perfect fit, installation steps, maintenance, and troubleshooting for a bug-free, breathable garage.

What is garage door screen installation and why it’s beneficial
Garage door screen installation is a practical upgrade that transforms your garage into a breezy, bug-free extension of your living space. A properly installed screen lets in fresh air while keeping insects, debris, and pests out. It also creates a flexible barrier that can be opened for quick access to the driveway or yard without the need for a separate door. According to GarageDoorAdjust, starting with a clear plan and selecting the right kit are the keys to a durable result. When chosen and installed correctly, a screen can reduce heat buildup on hot days and improve outdoor-into-indoor airflow without compromising security or privacy. The right setup complements any insulation strategy and can be removed seasonally if you prefer a fully closed garage during colder months.
Types of garage door screens and which to pick
There are several popular formats for garage door screens. Magnetic retractable screens use magnets along the frame for quick access and a near-seamless look. Frame-in-screen systems attach a rigid frame to the door opening, providing a sturdy, long-term solution that can hold up to wind loads and frequent use. Sliding or roll-up screens offer versatility for larger openings or irregular door configurations. Your choice should depend on door type (sectional, tilt-up, or carriage-style), how often you plan to use the screen, and the local climate. GarageDoorAdjust notes that for most homeowners, starting with a ready-made frame kit is the easiest path, but magnetic systems are ideal for temporary seasonal use and small openings.
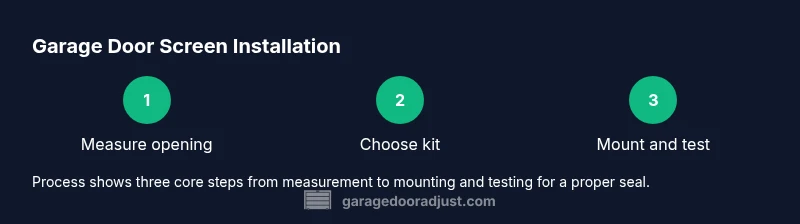
Planning and measuring for a perfect fit
Accurate measuring is the difference between a snug fit and a frame that leaks air or lets insects in. Start by measuring width at three points (top, middle, bottom) and height at three points (left, center, right) to account for any door frame irregularities. Always record your measurements in inches and round up to the nearest half inch to ensure clearance for hardware and weather seals. Consider the track layout, motion clearance, and the door’s swing or travel path. If you have a tall or uneven opening, you may need a custom kit or a two-part frame system. In all cases, double-check the kit’s recommended opening size and weight rating before purchase.
Surface prep and hardware compatibility
Prep is essential for a durable installation. Clean the door frame surface to remove dust, oil, and old weather-stripping residue. Inspect the frame for cracks, rust, or loose fasteners and address these issues before installation. If you’re using screws or mounting brackets, ensure you have the correct hardware size and type for your door material (steel, aluminum, wood). Lubricate moving parts lightly to reduce friction. A clean, dry surface helps the screen frame seat evenly and reduces the risk of gaps that would defeat the purpose of the screen.
Installation styles and how to choose
Frame-in-screen installs are robust but may require more precise framing and screw placement. Magnetic and retractable screens are faster to install and remove but might offer less durability in high-wind areas. Consider your climate, usage frequency, and whether you want a permanent or temporary solution. For families with kids or pets, a sturdier frame may be worth the extra effort. GarageDoorAdjust’s approach emphasizes matching the installation style to your door configuration and maintenance expectations to maximize longevity.
Maintenance, cleaning, and troubleshooting after installation
Regular maintenance helps your garage screen stay clean and functional. Wipe down frames with mild soap and water, clean tracks or channels to remove dust, and check the seals for wear every season. If you notice gaps, air leaks, or insect intrusion, re-seat the frame and tighten fasteners. Keep an eye out for bent tracks or sagging fabric, and address promptly to prevent further damage. Seasonal inspections—especially before and after peak insect activity—help catch issues early and extend the life of your screen. As with any home upgrade, routine checks preserve efficiency and comfort.
Authority sources and safety considerations
When working on any home improvement project, safety comes first. Use a stable ladder, wear eye protection if cutting or trimming frame components, and unplug or remove power to any nearby electrical outlets when working around wiring or outlets. For readers seeking official guidance, consult established safety resources. The GarageDoorAdjust team also recommends reviewing general DIY safety guidelines and following local building codes for screen installations in your area.